Skip to content Skip to cookie consent
Skip to content

Articles

How to turn woody waste into charcoal briquettes

Practical instructions for turning your woody waste materials into valuable fuel

Written by Zoë Lenkiewicz and Mike Webster 2019 Available in English, French, Portuguese and Spanish

Cooking stove using charcoal briquettes
A community waste worker in a new project in Pakistan run by Tearfund’s partner Pak Mission Society (PMS).

From: Waste – Footsteps 107

Practical advice and inspiring stories about dealing with waste in our communities

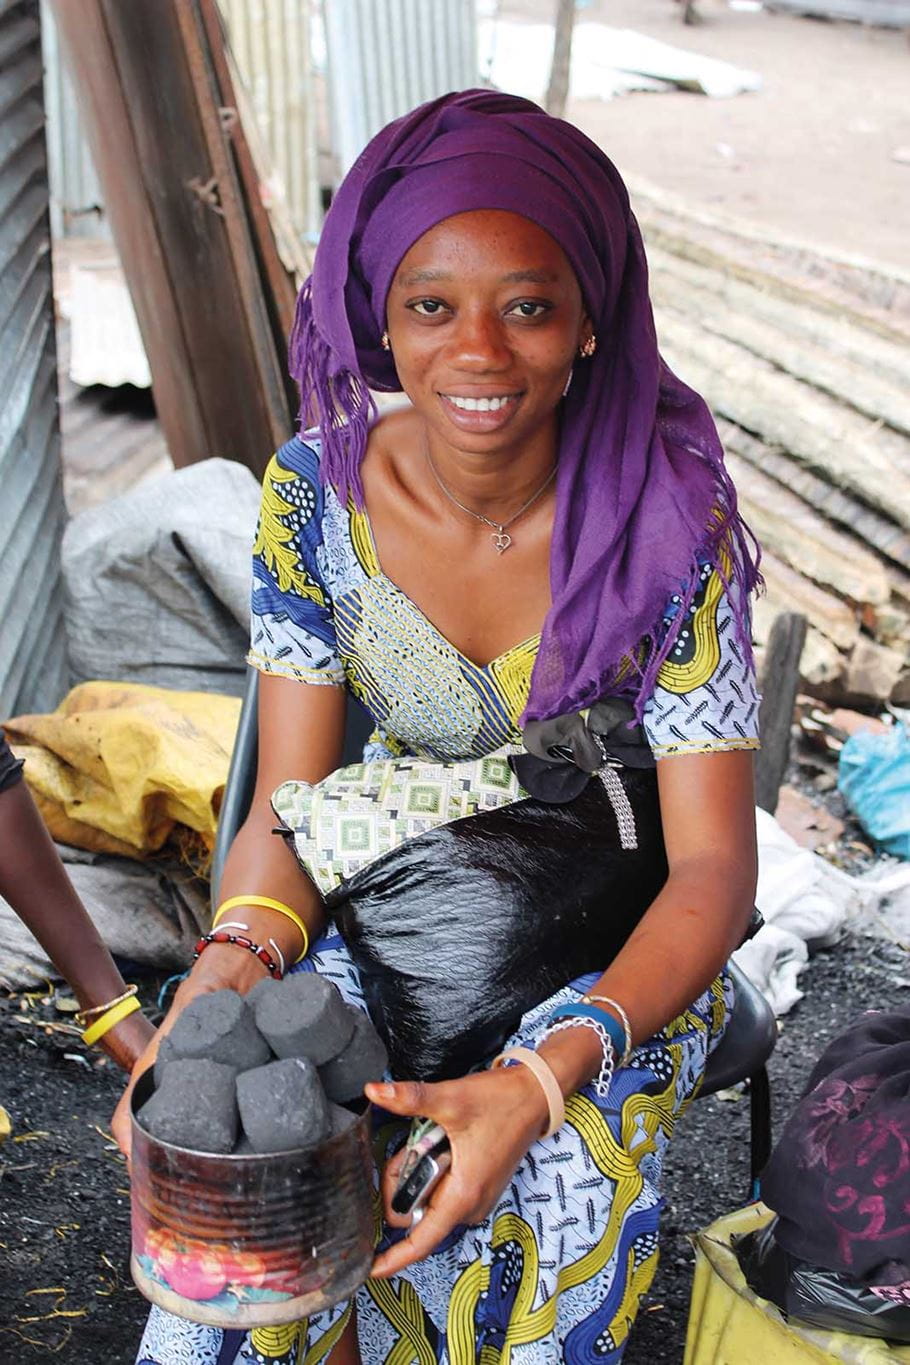
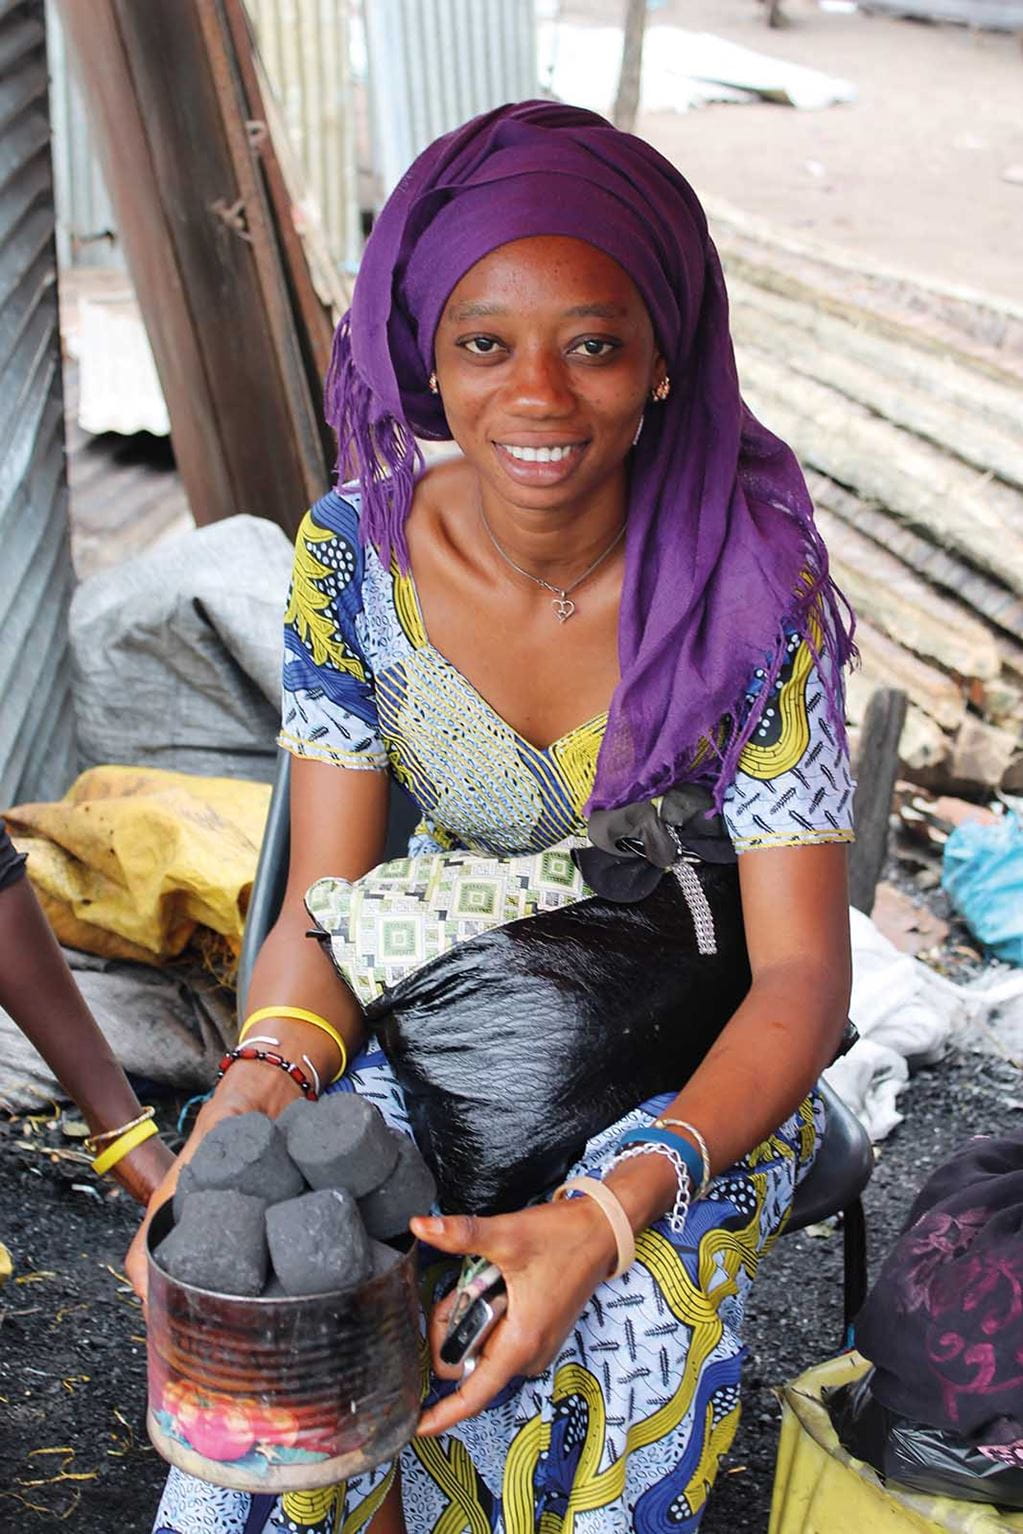
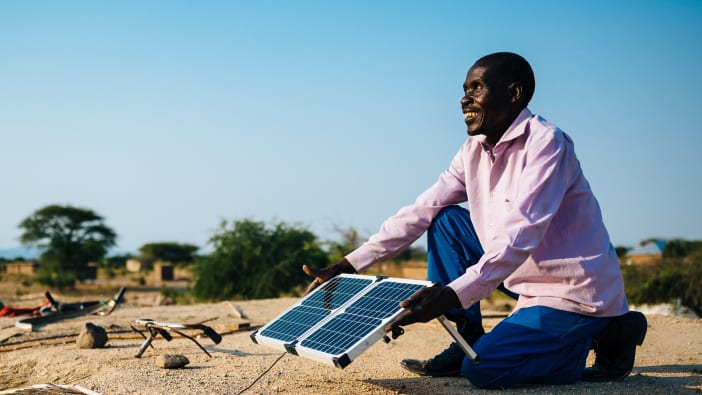
Woody waste materials, such as dry leaves and coconut shells, are all around us. In a few easy steps, you can transform these into charcoal briquettes – a great source of fuel for cooking.

Briquettes are cheaper than traditional charcoal, and burn hotter and for longer. When used as a fuel for cooking, they are less smoky than wood, reducing the problem of indoor pollution. They do not require trees to be cut down, helping to protect the environment. The equipment is cheap and the process is easy. 

Summary: Carbonise the material in a barrel with limited air (like making charcoal), then grind it into a powder, and mix with binder. Compress the mixture in a briquette mould and then dry the briquettes in the sun. 

Waste materials you can use: Dried leaves, twigs, straw, coconut shells, baobab shells, maize cobs, groundnut (peanut) shells and sawdust. Do not use anything that is too wet or anything other than dry leaves or woody waste. Make sure there are absolutely no plastics in the waste

Try out different mixtures of materials that you can find locally. One example of a mixture that works is 50kg of groundnut or coconut shells plus 25kg mango leaves. You will then need 1kg cassava flour (or another similar starch) and 2 litres of water to create a binder for the briquettes. If you are using leaves, you may want to try adding some woodier material (such as coconut shells). It is better to have a consistent mix of materials so the briquettes burn at a steady rate. 

A woman in the Gambia prepares charcoal briquettes for market. Photo: Mike Webster/WasteAid

A woman in the Gambia prepares charcoal briquettes for market. Photo: Mike Webster/WasteAid

Safety first 

  • You will be working with fire and combustion, so make sure you have water nearby to put out any flames. 
  • You will be using heat and fire. Make sure you have fireproof gloves (fabric, NOT rubber) and heatproof boots (NOT rubber), and cover your arms and legs with overalls or heavy trousers. 
  • Be aware that the process produces a lot of smoke and needs to be done in a well ventilated outside space. Never stand over the smoking barrel, and make sure the smoke will not affect anyone nearby. 
  • Stand back when opening the barrel after carbonising, as flames may leap out. Have somebody ready with water to pour on the flames and sprinkle on the material so it does not burn in the open air. 

If you do not have a briquette press and cannot make one, you can make briquettes by hand, using only sawdust and binder. You do not need to carbonise the material in this case. Simply squeeze it into balls and leave them to dry for 2 to 8 days, depending on the climate. Sawdust briquettes cook fast like firewood; charcoal briquettes cook more slowly. 

Please note: In some countries, making charcoal is illegal or requires a special permit. You may wish to check that making charcoal briquettes in this way is allowed in your area. 


You will need:

  • Overalls, gloves, masks, covered shoes or boots 
  • Dry woody material (see above) 
  • 1 metal barrel – an oil drum with several air holes in the bottom, handles on two sides and a large hole in the top with a lid or chimney 
  • Stick or rod to turn the material 
  • Metal wheelbarrow or heatproof container to hold the carbonised material after burning
  • Water to sprinkle on the carbonised material 
  • Mortar and pestle or another way to crush the charcoal 
  • Gum or starch from cassava or similar as a binder (you can even use clay) 
  • Cooking stove, fuel and a container to warm and mix your binder with water 
  • A place to mix your material with the binder (a table or a plastic sheet on the floor) Briquette press (see below)

Preparing your equipment and making your briquettes (PDF 128 KB)

View or download this resource

Get this resource

Written by

Written by  Zoë Lenkiewicz and Mike Webster

Similarly Tagged Content

Share this resource

If you found this resource useful, please share it with others so they can benefit too.

Subscribe to Footsteps magazine

A free digital and print magazine for community development workers. Covering a diverse range of topics, it is published three times a year.

Sign up now - Subscribe to Footsteps magazine

Cookie preferences

Your privacy and peace of mind are important to us. We are committed to keeping your data safe. We only collect data from people for specific purposes and once that purpose has finished, we won’t hold on to the data.

For further information, including a full list of individual cookies, please see our privacy policy.

  • These cookies are necessary for the website to function and cannot be switched off in our systems.

  • These cookies allow us to measure and improve the performance of our site. All information these cookies collect is anonymous.

  • These allow for a more personalised experience. For example, they can remember the region you are in, as well as your accessibility settings.

  • These cookies help us to make our adverts personalised to you and allow us to measure the effectiveness of our campaigns.